Easy Border for Ripple Baby Blanket Crochet
It seems like longer ago than only last year when I made my neat ripple blanket and it's been well-used and well-loved since then! I wanted to make one for myself when I took up meditation so that I would have my own special colourful rainbow to wrap myself up in during my quiet moments, and it's been perfect for that.

When I made my blanket, I didn't put any kind of edging on it and I was quite happy with it as it was. However, over the summer I saw pictures of Lucy's new ripple blanket complete with a neat edge and it made me re-think whether I wanted to add one to mine. As you can see, it looks just fine without one …
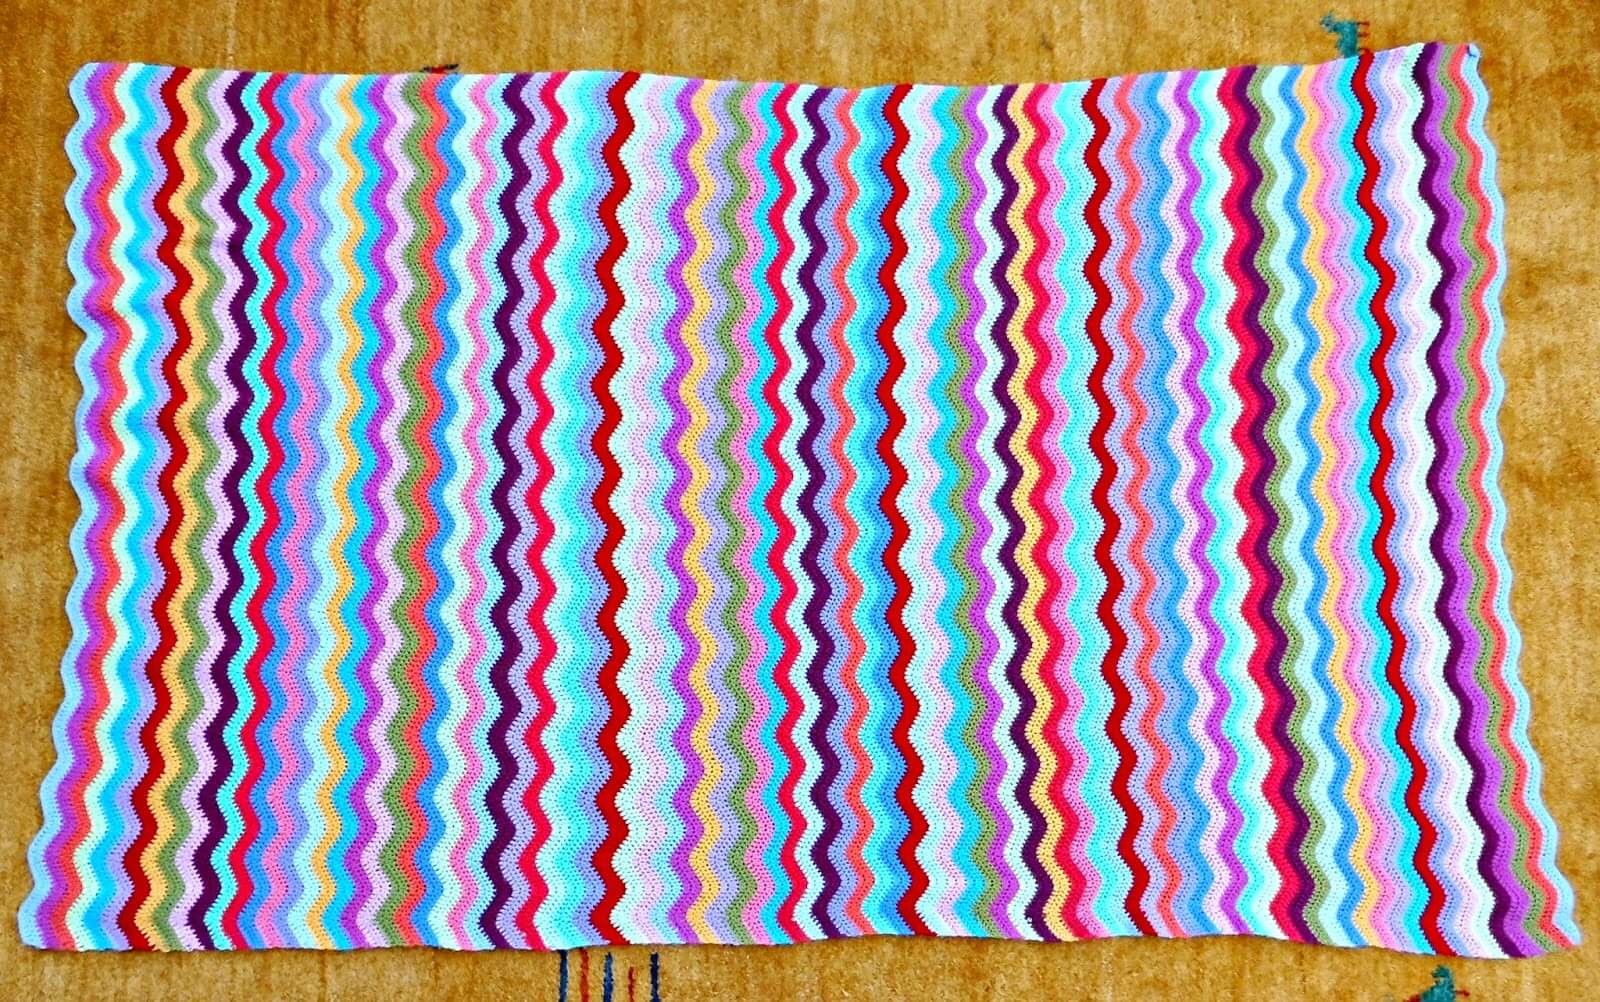
but I think it looks much better with one (even if I seem to be incapable of laying it out with straight edges for the photo!).
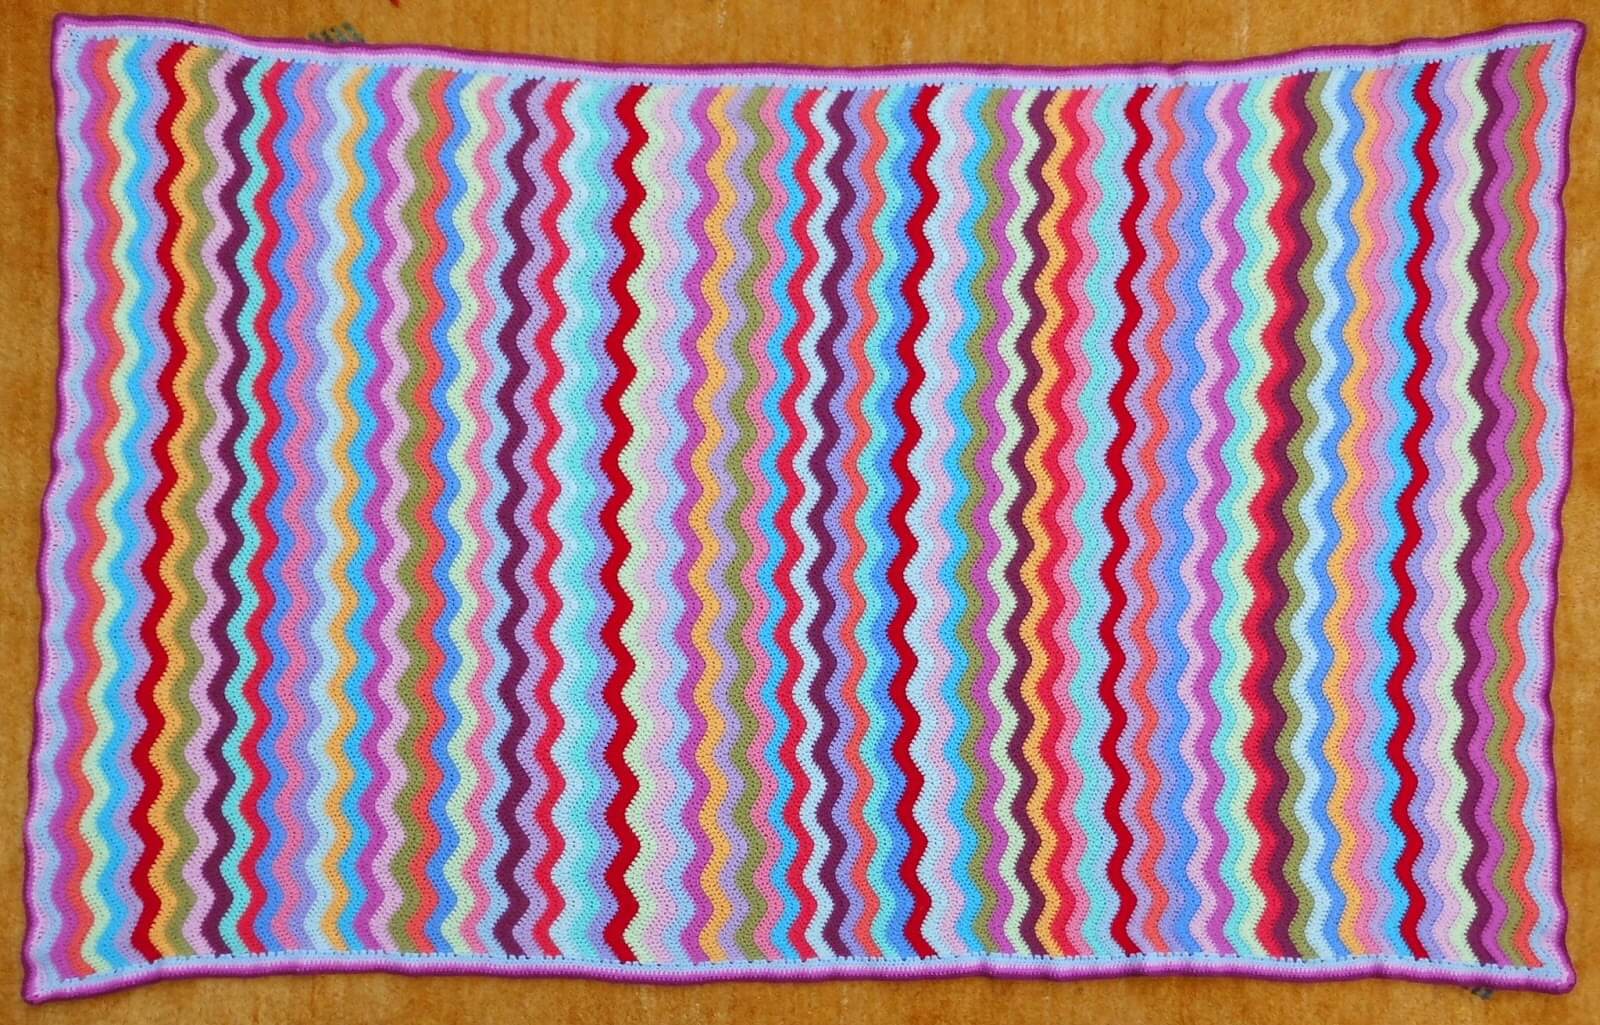
It looks properly finished now – and what's even better is that it's added some extra width to my blanket. I decided that as it's specifically for wrapping myself up in rather than just snuggling under, I didn't want to use double crochet stitches which is what Lucy has used in her ripple blanket edging tutorial but instead I used half trebles. It's added about an inch to each side of my blanket which has made a surprising difference to the size.
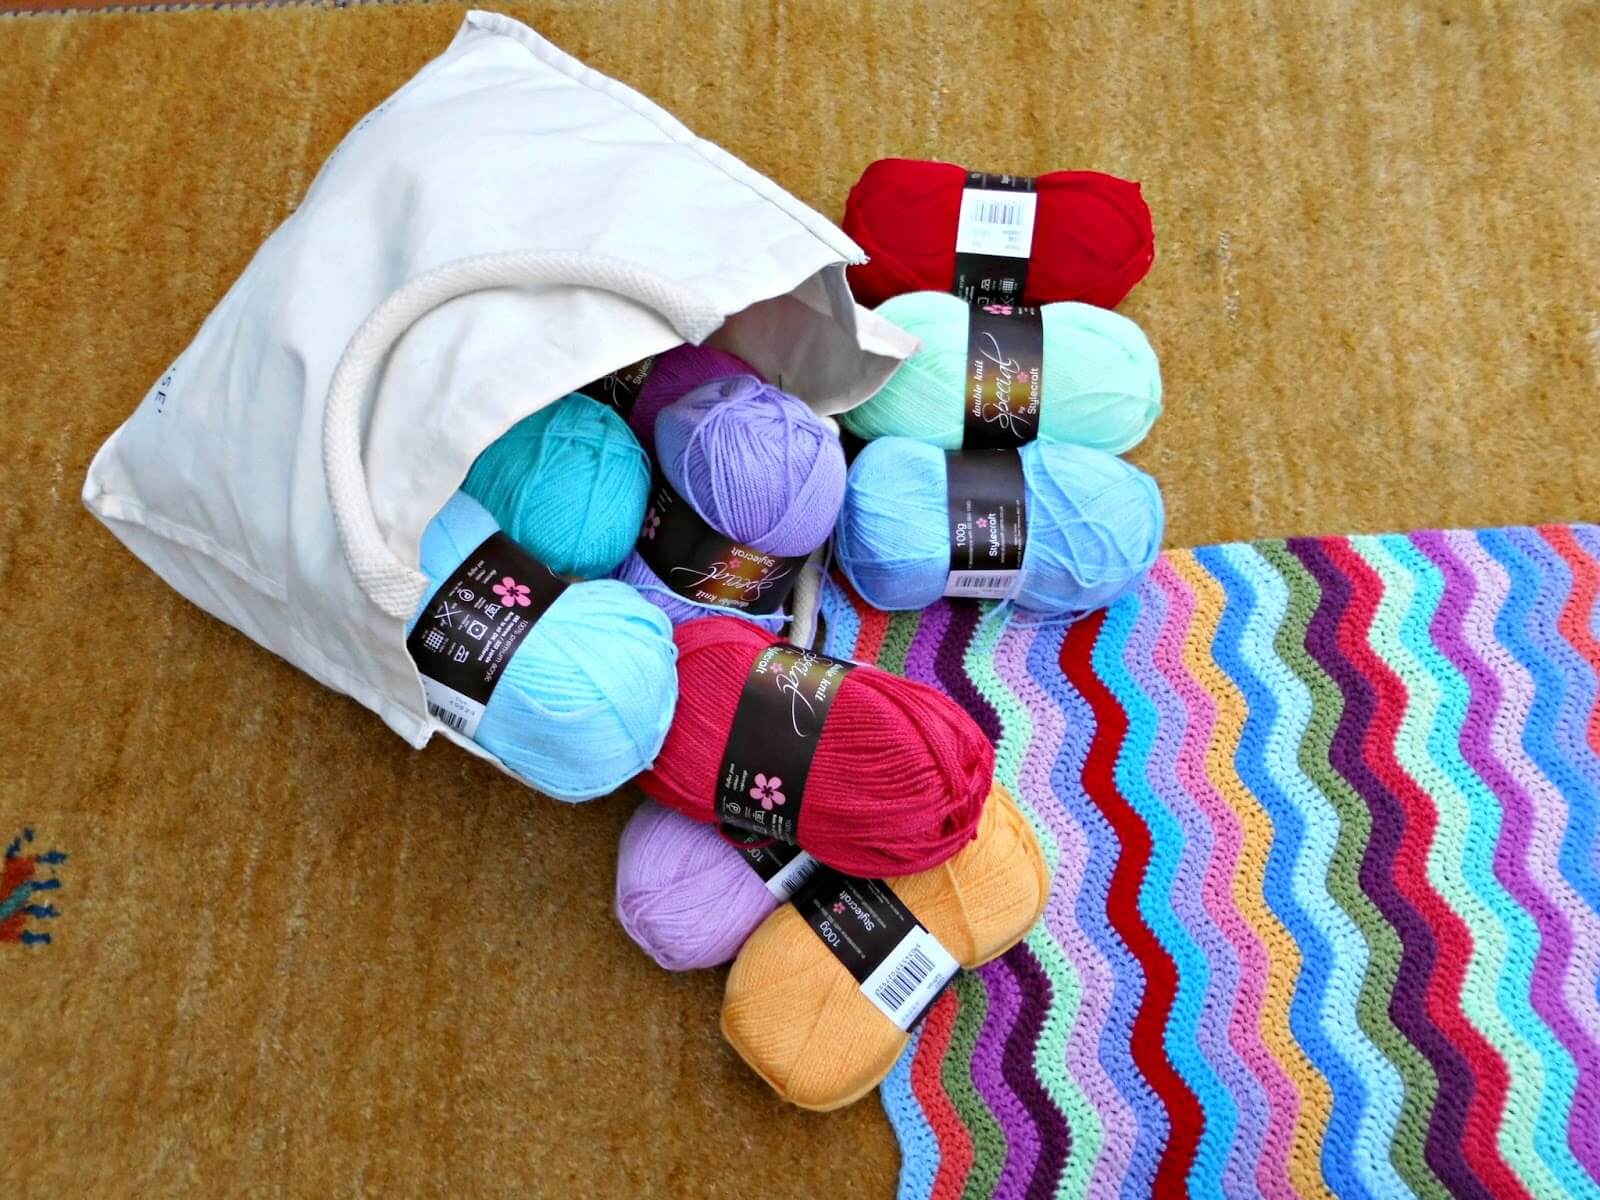
It took me quite a while to decide which colours to use. Because there are seventeen colours in the blanket, I was quite spoiled for choice. In the end, I went for one of the darker pink shades and the dark plum.
I'm really pleased with how it's turned out.
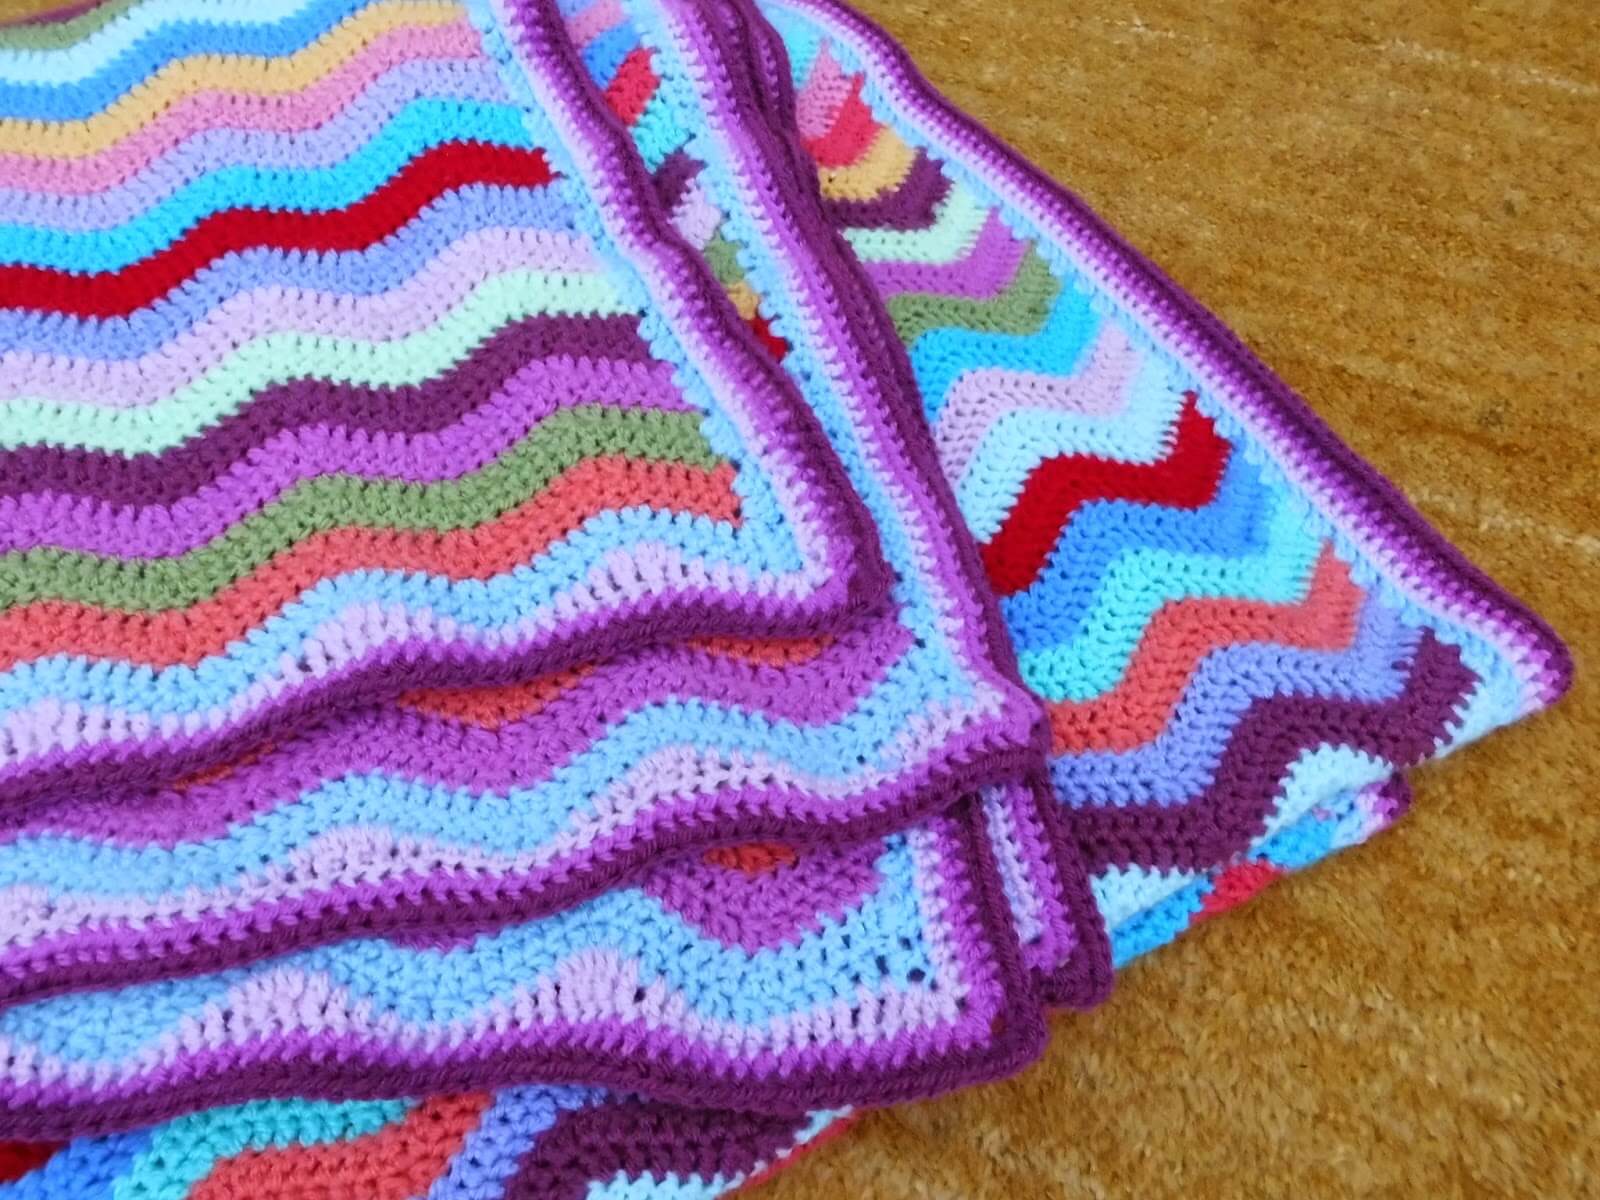
However, because I wanted to make the blanket bigger, it meant that I needed to change the way I created the fill-in for the dips and mountains of the ends, and for that I found KnitKnatKnot UK's edging post very useful, although I still had to make each of the stitches a size larger so that they would fit with my round of half trebles. Using decrease stitches worked much better for me with doing the bigger stitches as working into each stitch of the row below made the dips look as if I'd put bars down them! With my decreases, the stitches now remind me of the girders on the Forth Road Bridge which is my very favourite bridge and therefore not a bad thing!

This is how I created the straight edging for my blanket. I've used UK stitches and they are as follows:
htr – half treble
tr – treble
dt – double treble
dt2tog – this is two double treble stitches worked together into a decrease.
If you need a reminder of how to do the stitches, this is a good page to look at, and there's also an explanation here of how to do a decrease. Although it doesn't specifically give a double treble decrease, the process is just the same as for a treble decrease – all you've done is wrapped the yarn one more time around your hook.
From the top of a peak: *3 htr, 2 tr, 1 dtr, 2 dtr2tog, 1 dtr, 2 tr, 3 htr* (repeat between **)

I'm not terribly good at freehand drawing on photographs so please excuse my wonky lines in the photo above! I hope you can see how the stitches fit, though.
If you're making a ripple blanket, I think it's definitely worth putting the edging around, whichever style you choose. I had more than enough yarn left over, although obviously it depends on the size of blanket you've made in the first place. And the best bit is that there's just that bit more blanket to snuggle under!
bellangerprackentind.blogspot.com
Source: https://www.winwickmum.co.uk/2014/11/ripple-blanket-edging.html
0 Response to "Easy Border for Ripple Baby Blanket Crochet"
ارسال یک نظر